
5 Common Drywall Problems and How to Fix Them: Expert Tips from Squatchworks
Understanding Drywall Issues
Drywall might not be the flashiest part of your home, but it’s the unsung hero that keeps your walls looking smooth and polished. That is, until something goes wrong. Whether it’s a rogue doorknob, an unexpected plumbing disaster, or just the house settling into its old age, drywall has a way of showing its battle scars. The good news? Most of these issues are easier to fix than you might think. At Squatchworks, we believe in practical, no-nonsense solutions—so here’s our guide to tackling the five most common drywall problems like a pro.
Nail Pops
Ever noticed little bumps appearing on your wall like it’s trying to grow a new personality? Those are nail pops, and they happen when nails or screws start pushing through the surface of the drywall. This is usually thanks to the natural movement of your house as it expands and contracts with the seasons.
How to Fix Nail Pops
Tools Needed: Hammer, drill, drywall screws, joint compound, putty knife, sanding sponge, paint.
- Give that pesky nail or screw a deeper seat—hammer it in or remove it and replace it with a new drywall screw about an inch away for extra security.
- Slather on some joint compound, smooth it with a putty knife, and let it dry like your patience when you first saw that bump.
- Sand it smooth, repaint, and voilà—your wall is back to looking like its old self.
Cracks in Drywall
Cracks in drywall are like wrinkles—inevitable over time but totally fixable. They pop up due to shifting foundations, fluctuating humidity, or just poor initial installation. If ignored, they can spread faster than a juicy neighborhood rumor.
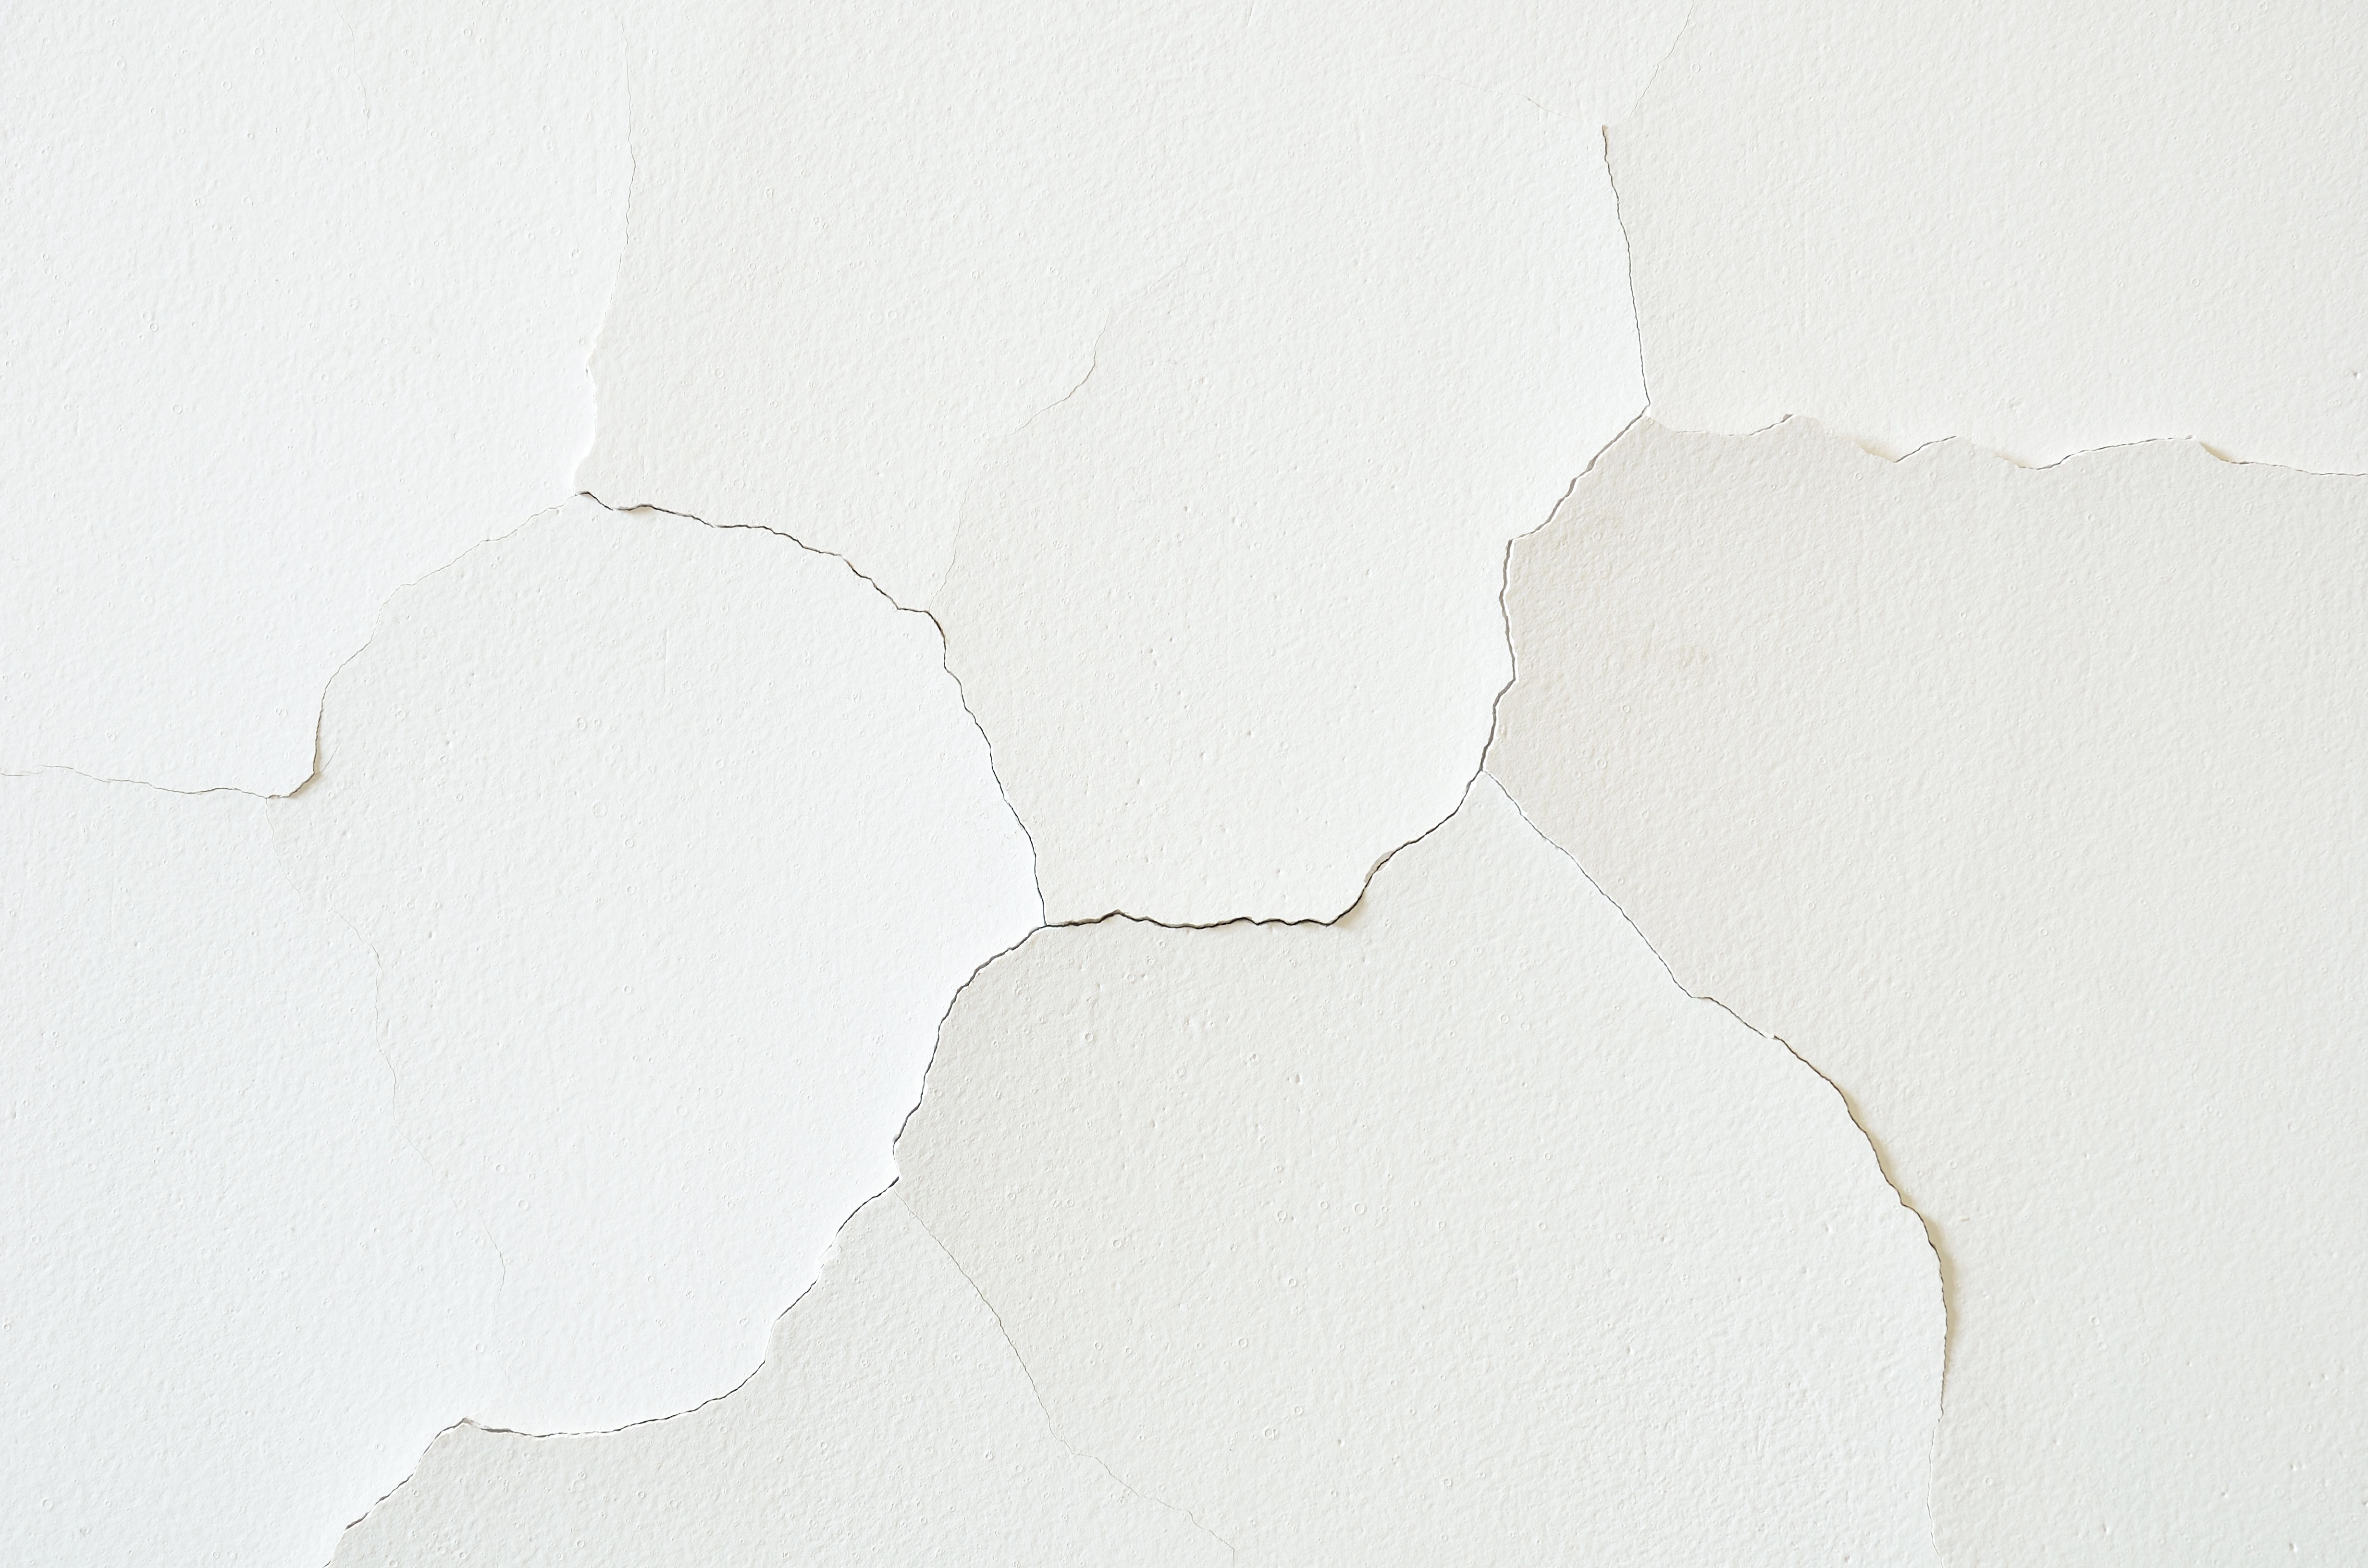
Repairing Drywall Cracks
Tools Needed: Utility knife, joint compound, mesh tape, putty knife, sanding sponge, primer, and paint.
- Use a utility knife to slightly widen the crack—this gets rid of loose debris and gives the repair material a better grip.
- Apply a thin layer of joint compound and embed mesh tape over the crack for reinforcement—like a Band-Aid, but for your wall.
- Layer on additional coats of compound, sanding between each layer until it blends in like it was never there.
- Prime and paint, and you’re good to go!
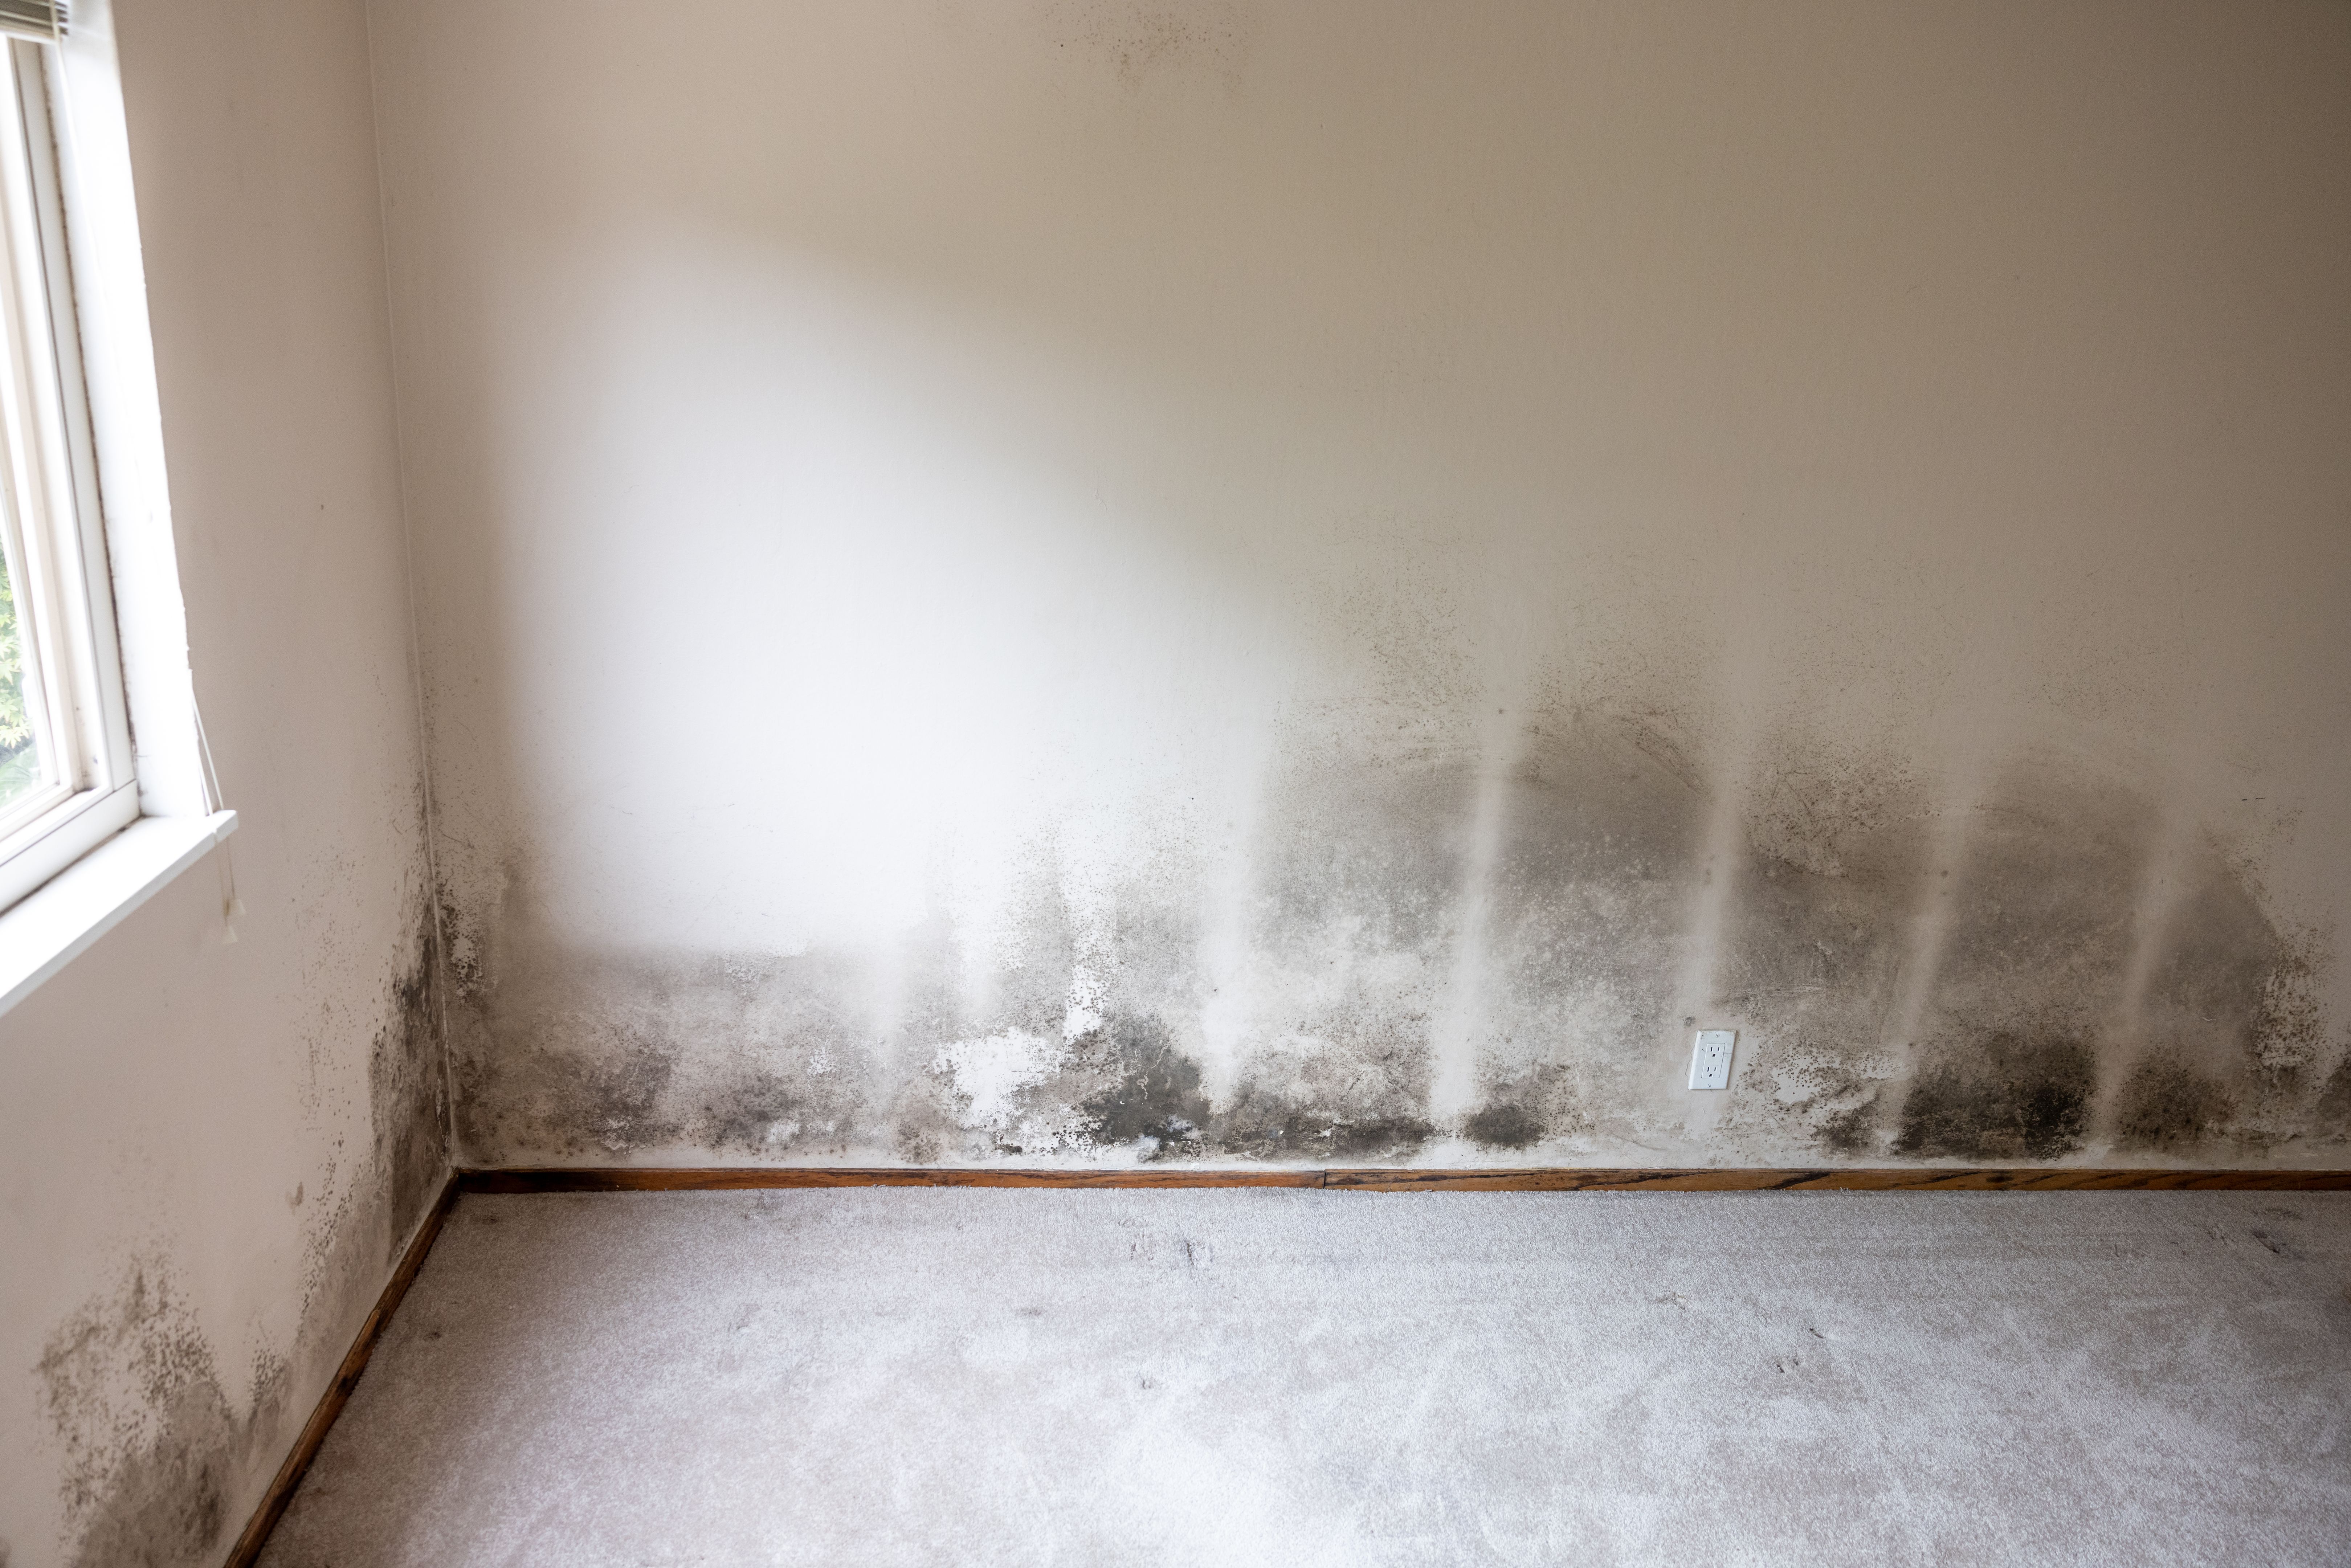
Water Damage
Water and drywall go together about as well as cats and bathtubs. Whether it’s from a roof leak, busted pipe, or an overenthusiastic kid in the bathtub, water damage can leave ugly stains, sagging walls, or even worse—mold.
Fixing Water-Damaged Drywall
Tools Needed: Utility knife, replacement drywall, drywall screws, joint tape, joint compound, putty knife, sanding sponge, primer, and paint.
- First things first—find and fix the leak. Otherwise, you’ll be back here in no time.
- Cut out the damaged drywall like a surgeon removing a bad appendix.
- Install a new drywall patch, secure it with screws, and tape the seams.
- Apply joint compound, sand it down, then prime and paint. Crisis averted!
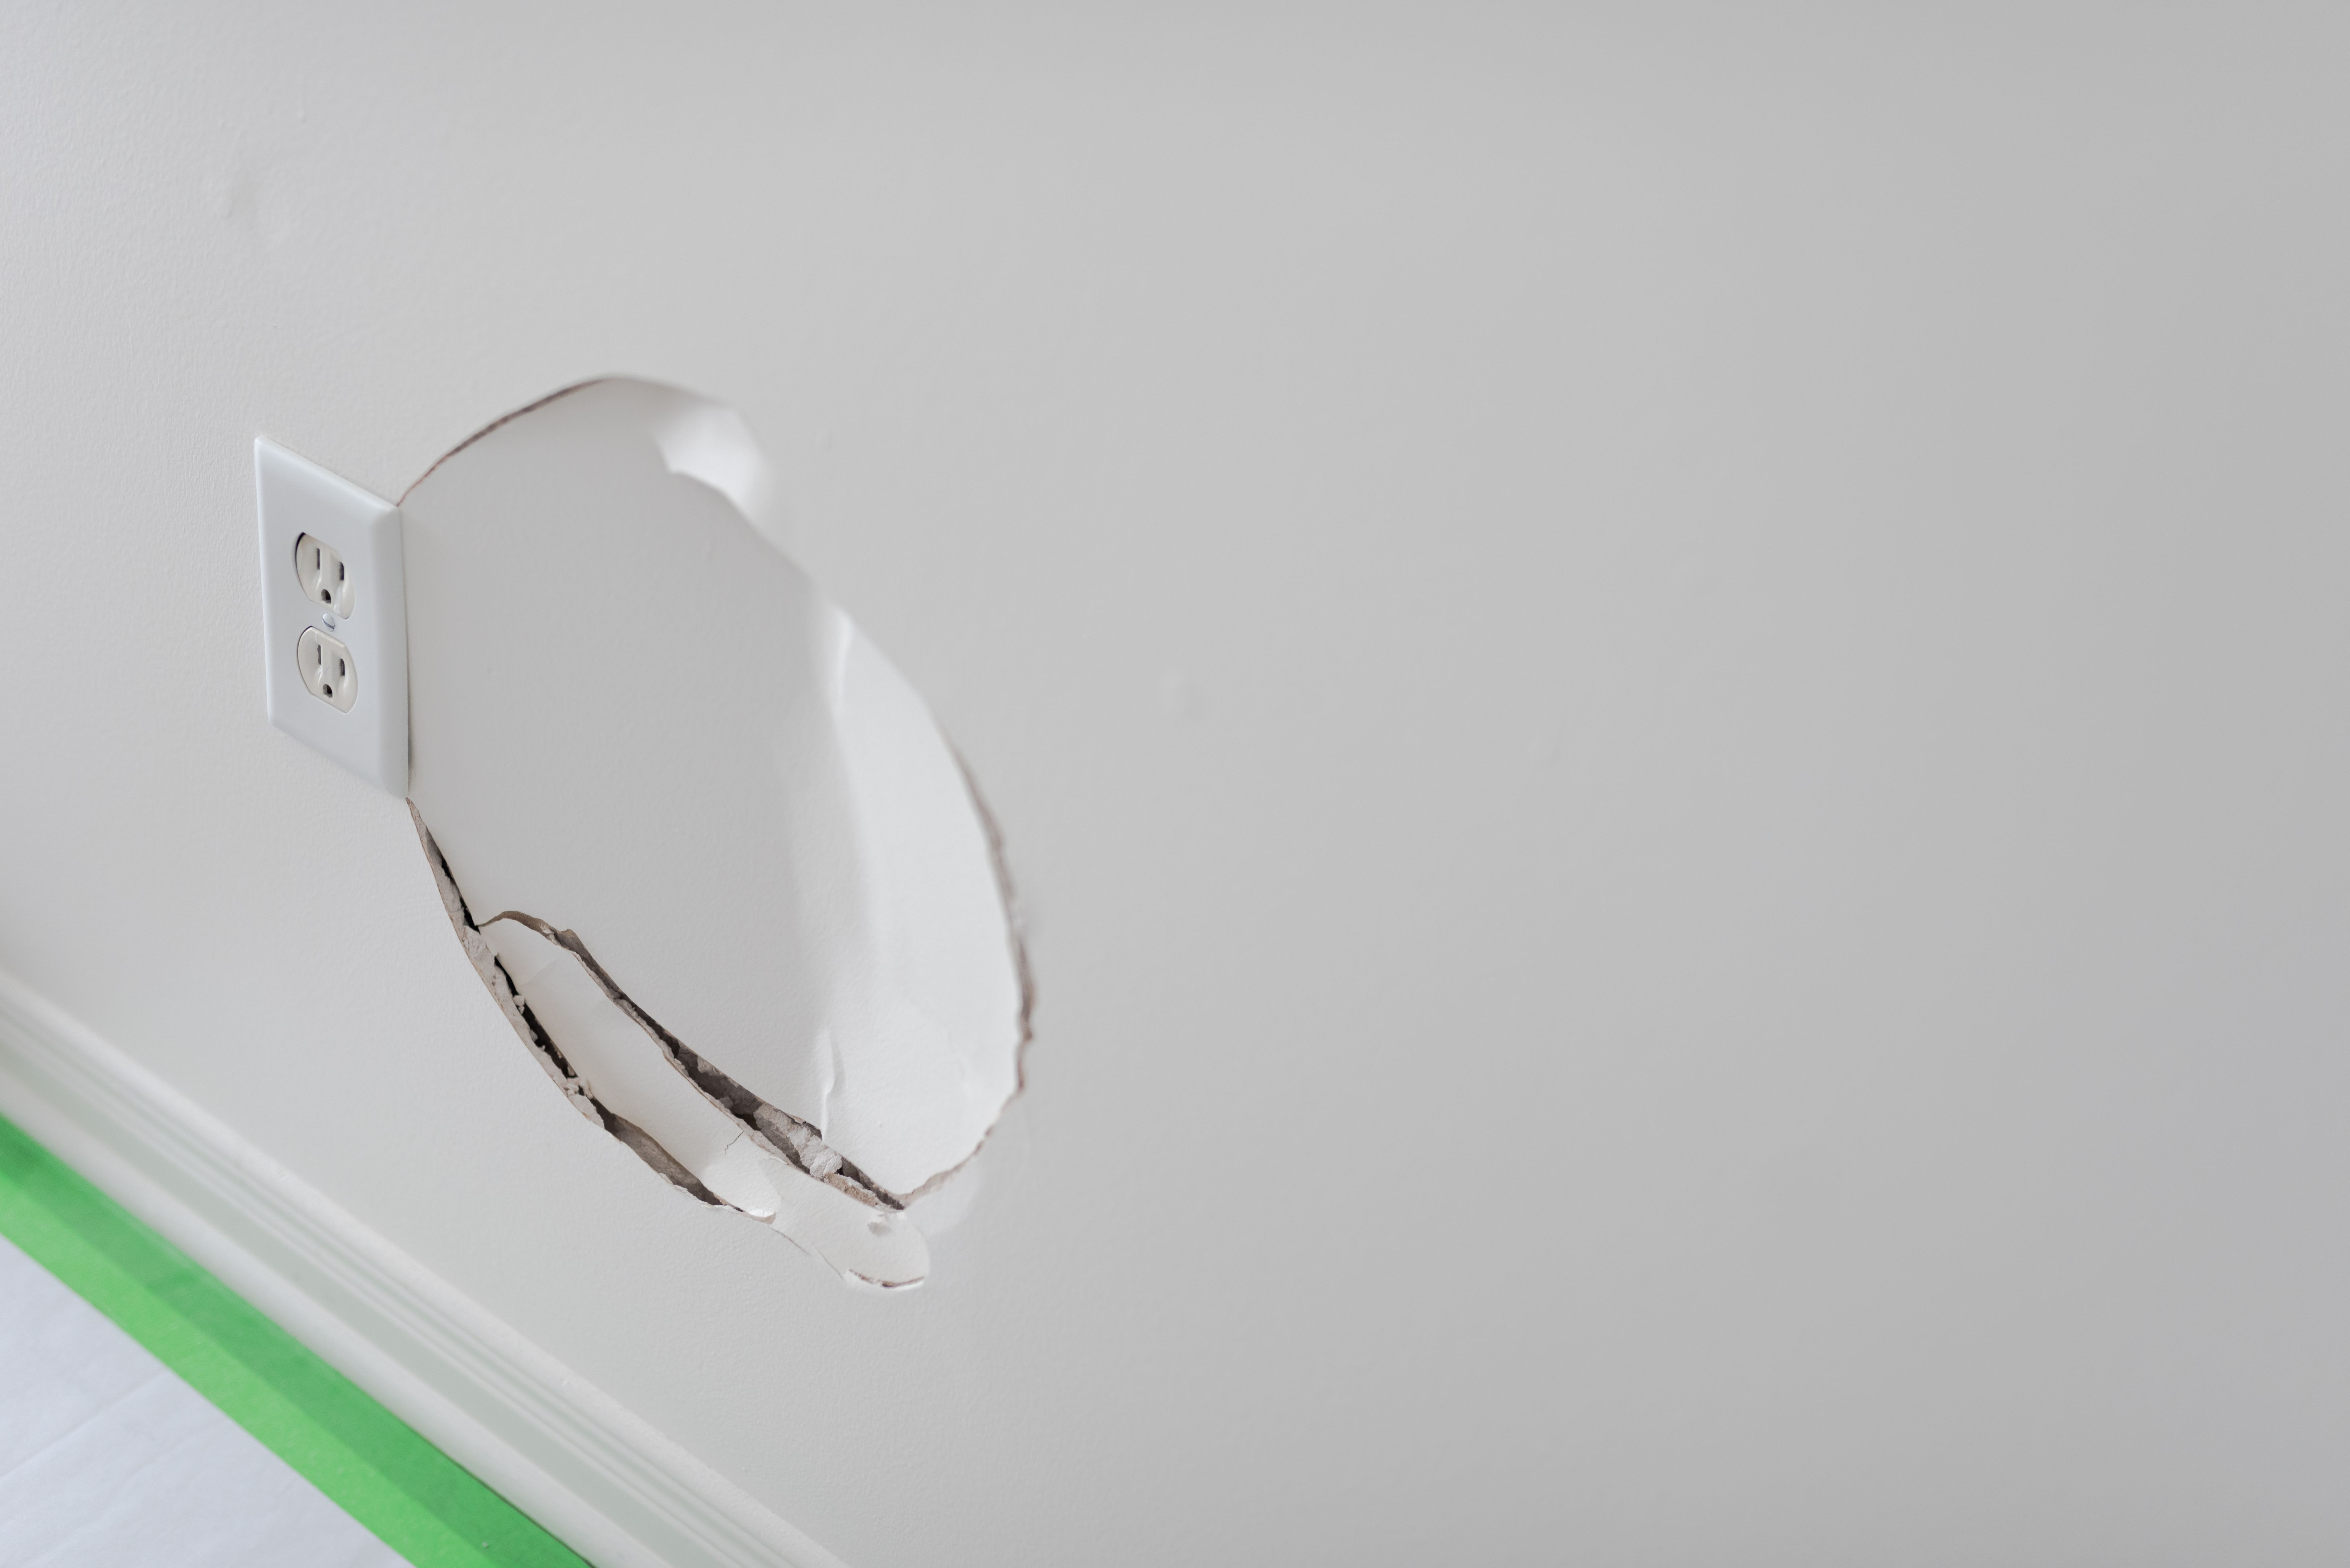
Dents and Holes
Walls take a beating—whether it’s from an accidental furniture mishap, an overzealous game of indoor football, or just general wear and tear. Those little dents and holes might not seem like a big deal, but they can make your home look rough around the edges.
Repairing Dents and Holes
Tools Needed: Spackle or joint compound, putty knife, sanding sponge, primer, and paint.
- For small dents: A little spackle and a putty knife will do the trick. Smooth it out, let it dry, sand it, and repaint.
- For larger holes: Grab a patch kit with mesh tape and joint compound.
- Apply thin layers of compound, sanding between each layer like a perfectionist.
- Once smooth, prime and paint to restore your wall’s dignity.
Mold on Drywall
Mold isn’t just gross—it’s a health hazard. If you spot black, green, or brown splotches creeping up your drywall, don’t ignore them. Mold loves moisture, and if you don’t act fast, it can spread faster than your Aunt Carol’s chain emails.
Removing Mold from Drywall
Safety First: Always wear gloves, a mask, and goggles when dealing with mold. It’s not something you want to breathe in.
Tools Needed: Commercial mold remover, vinegar or bleach solution, sponge, scrub brush, replacement drywall (if necessary).
- Track down the moisture source and eliminate it—otherwise, the mold will keep coming back.
- For surface mold, scrub it away using a mold remover or a mixture of one part vinegar to three parts water.
- If the mold has sunk into the drywall, cut it out and replace it. It’s better to be safe than sorry.
- Dispose of contaminated materials properly and make sure your space is well-ventilated to keep the mold from making a comeback.
Call the Pros at Squatchworks
DIY drywall fixes can be satisfying, but sometimes, it’s best to call in reinforcements. Whether it’s a small patch job or a full-scale wall rescue, Squatchworks has your back. Reach out today and let us help you keep your home in tip-top shape!